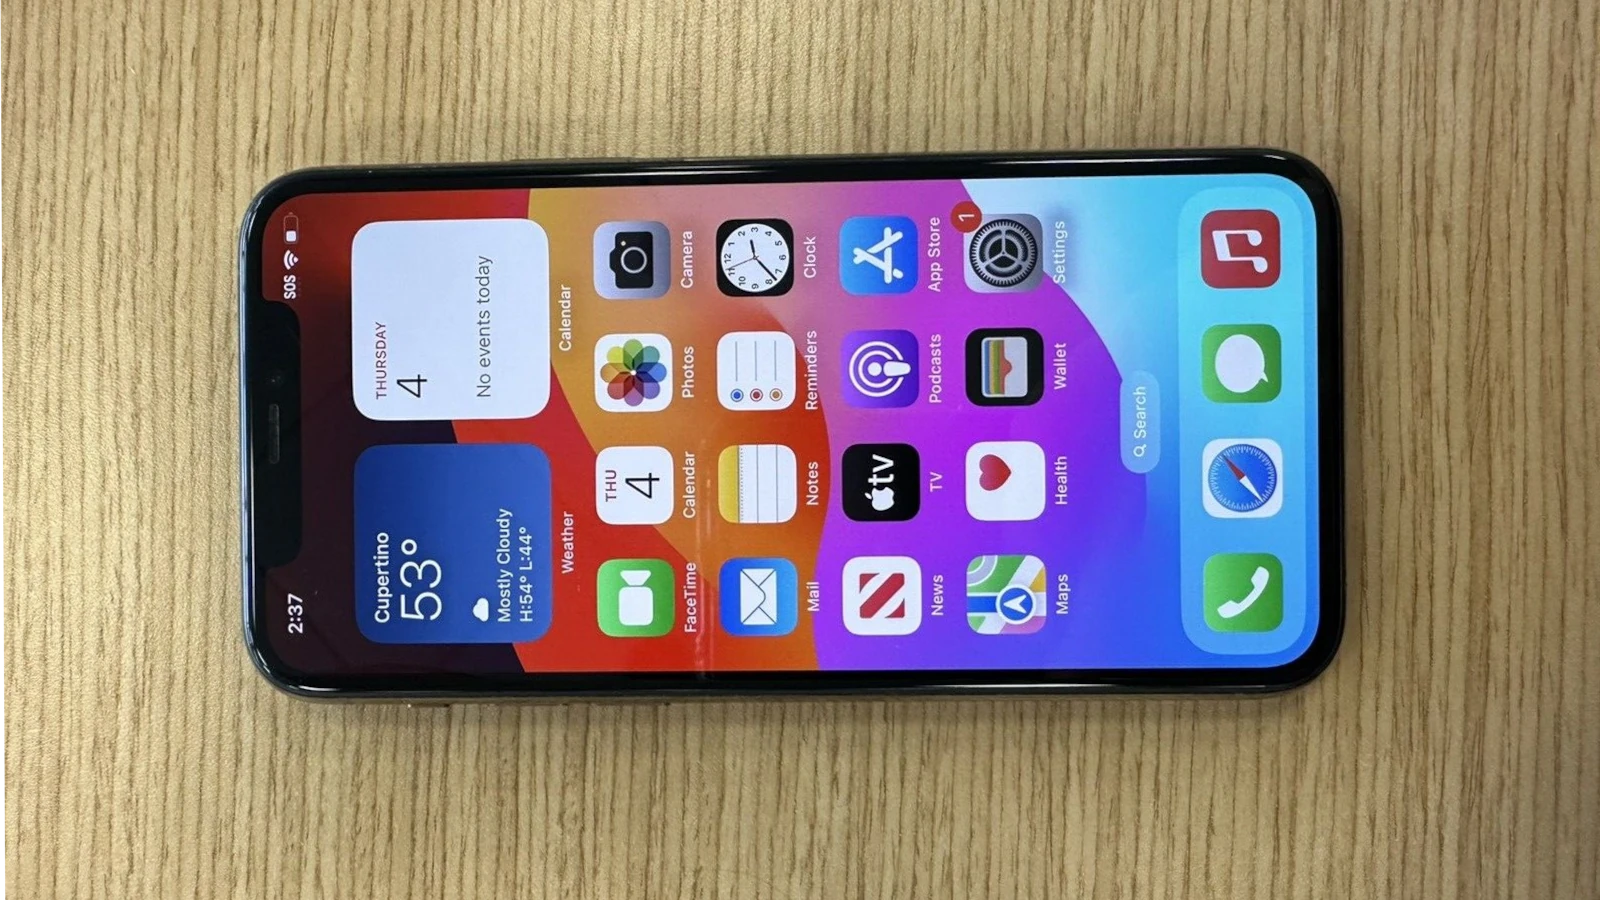
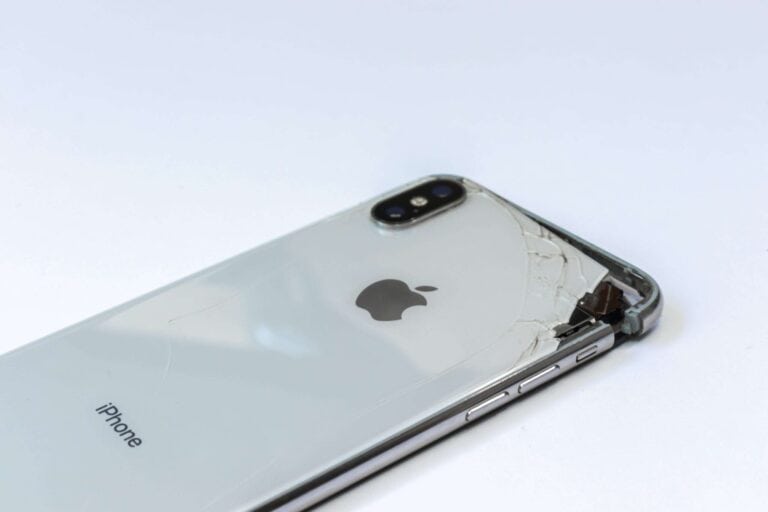
Replacing the digitizer of an iPhone 11 Pro is a technically involved process that involves precision and a basic understanding of the phone’s screen components. The iPhone 11 Pro utilizes an OLED display which incorporates a digitizer, responsible for translating touch actions into digital inputs. Over time or after accidental drops, the digitizer may become unresponsive or damaged, necessitating a replacement to restore full touch functionality to the device.
When embarking on digitizer replacement, it’s crucial to follow a reliable and clearly laid-out procedure. The process starts with safely opening the phone and systematically removing components to access the screen assembly. While it’s a task that can be tackled by a determined DIYer with the right tools and a bit of patience, knowledge of the risks and challenges is important. A successful repair restores the sleek interaction a user expects from their iPhone 11 Pro, making it a rewarding endeavor for those up to the task.
Tools and Preparation
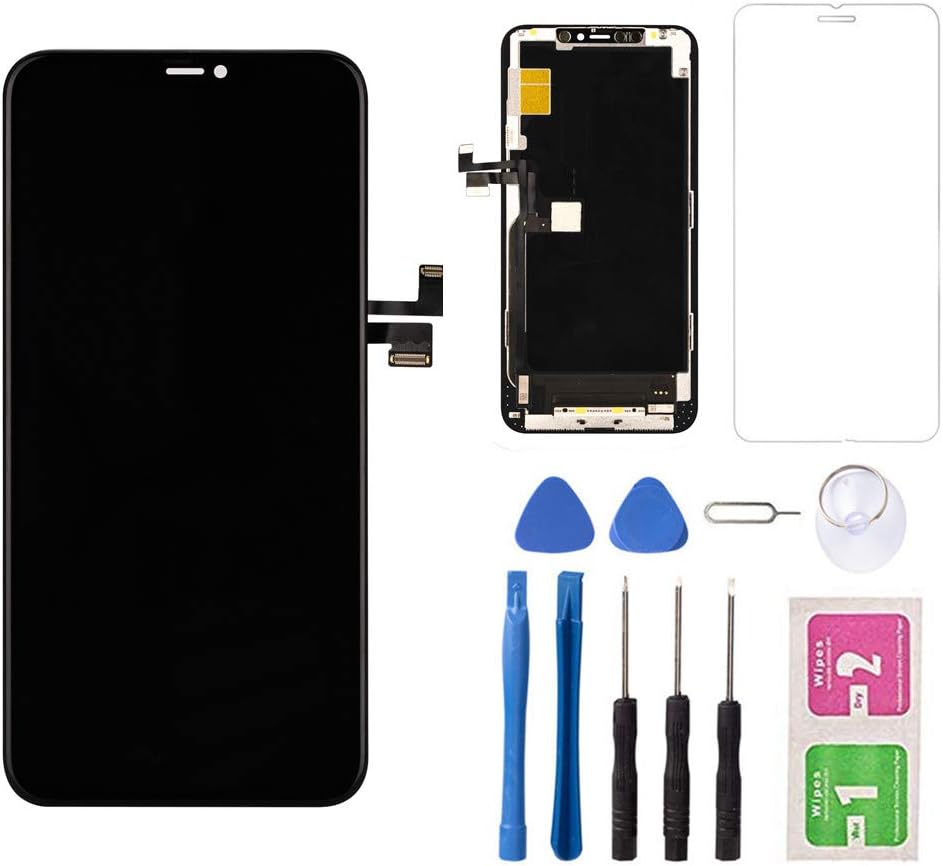
Before you begin, gather the following:
| Tool | Description |
|---|---|
| Screwdriver set | Includes a pentalobe screwdriver for the iPhone 11 Pro’s external screws. |
| Suction cup | Helps safely lift the display. |
| Spudger (plastic opening tool) | Used for prying and disconnecting components. |
| Heat source (hairdryer or heat gun) | Softens the adhesive holding the display. |
| New digitizer assembly | Ensure it’s a high-quality compatible replacement. |
Step-by-Step Guide
- Power off: Turn off your iPhone 11 Pro completely.
- Remove display screws: Locate the two pentalobe screws at the bottom of the phone, next to the charging port. Remove them carefully.
- Apply heat: Gently heat the edges of the display to soften the adhesive.
- Lift the display: Use the suction cup to create a slight gap at the bottom of the display. Insert a spudger into the gap and carefully work around the edges to separate the adhesive.
- Disconnect the battery: Locate the battery connector bracket and remove the screws holding it down. Gently pry up the connector to disconnect the battery.
- Disconnect display connectors: Find the connectors for the display and carefully disconnect them.
- Remove the earpiece: Gently remove the speaker and sensor flex cable located at the top of the phone. This assembly also includes the earpiece speaker.
- Install the new digitizer: Carefully position the new digitizer, making sure to align it correctly.
- Connect the earpiece: Reattach the speaker and sensor flex cable to its corresponding connectors.
- Reconnect the display connectors: Securely reconnect the display connectors.
- Reconnect the battery: Reattach the battery connector and secure the bracket with screws.
- Reassemble the display: Align the display assembly on the phone frame and gently press around the edges to reseal the adhesive. Reinsert the pentalobe screws.
Important Notes:
- Proceed slowly and carefully to avoid damaging delicate components.
- If you lack experience, consider seeking a professional to perform the replacement.
- Always use a high-quality replacement digitizer.
Key Takeaways
- Repairing an iPhone 11 Pro screen involves replacing a combined OLED and digitizer component.
- Precise steps must be followed to safely open the device and replace the damaged components.
- A successful digitizer replacement restores the touch functionality of the iPhone 11 Pro screen.
Understanding iPhone 11 Pro Screen Components
When dealing with iPhone 11 Pro screen issues, knowing the structure of the screen can guide efficient troubleshooting and replacement. This section will explain the critical aspects that make up the iPhone 11 Pro screen.
OLED Panel and Digitizer Overview
The iPhone 11 Pro screen is a high-quality, intricate component consisting of an OLED panel for crisp visuals and a digitizer responsible for touch responsiveness. The OLED screen delivers bright and clear images, making it essential to select a compatible replacement that maintains the display’s integrity.
Quality and Compatibility Considerations
It is crucial to choose a replacement screen that complies with quality standards to ensure functionality and the longevity of the repair. Brand new, compatible parts with a lifetime guarantee are preferable to protect against future failures. Compatibility not only ensures the iPhone operates as intended but also prevents issues stemming from mismatched components.
Tools and Kits for Replacement
For a successful replacement, specialized tools are necessary. A standard fix kit usually includes a spudger, suction handle, and screwdrivers tailored for iPhone repairs. High-quality adhesive ensures the new screen fits securely, while the proper removal of display cables avoids damage to the iPhone’s internal hardware.
Pre-purchase Information
Before purchasing a new screen, understanding the global impact of such repairs is valuable. Opting for DIY screen replacement with the correct tools can save money and reduce e-waste, contributing to a more sustainable approach to consumer electronics. Providers often offer same-day shipping and clear return policies, such as 30-day returns, to facilitate the replacement process.
Screen Replacement Process
Replacing your iPhone 11 Pro’s screen involves careful preparation, a step-by-step approach, and thorough aftercare. This process ensures a quality repair and maintains the functionality and aesthetic value of your device. https://www.youtube.com/embed/Fey4U4PTacQ
Preparation and Safety
Before starting the repair, power off the iPhone to reduce the risk of electrical damage. Discharging the battery below 25% is crucial as a charged battery may pose a fire hazard if punctured during the repair. Gather all necessary tools, including pentalobe screwdrivers, and read all safety warnings, such as Prop 65 in California which alerts residents to chemicals like lead that could potentially cause cancer and birth defects.
Step-by-Step Replacement Guide
- Remove Pentalobe Screws: Unscrew the two 6.7 mm-long pentalobe screws at the bottom of the iPhone.
- Open the Display: Use a suction handle and opening pick to gently lift the screen, and open it to the side, like a book.
- Detach Connectors: Look for the battery and screen connectors. Detach these carefully with a spudger or tweezers.
- Remove the Old Display: Take out the damaged display assembly.
- Install the New Display: Align the new OLED display, ensuring compatibility, and reconnect the digitizer and battery connectors.
- Seal the Phone: Close the display onto the body of the phone and re-attach the pentalobe screws.
After Replacement Considerations
Once the new screen is installed, test all functions to ensure the repair is successful. Verify that the display and touchscreen responsiveness are like new. If service was provided outside of an Apple Store, the service value proposition may not include a warranty.
Troubleshooting and Support
If the screen isn’t working after replacement, double-check all connections to make sure they are secure. Customers with unresolved issues can seek support through replacement guides or contact the service provider for assistance. Source quality parts and review customer reviews to ensure the best repair experience.
By following these steps for screen replacement, you can restore your iPhone 11 Pro to its former condition with a fully functioning and responsive display.
Frequently Asked Questions
When you encounter issues with your iPhone 11 Pro’s screen, you may have some questions. Below are the answers to common queries regarding iPhone 11 Pro digitizer replacement.
What is the typical cost range for iPhone 11 Pro screen replacement?
The cost of replacing an iPhone 11 Pro screen can vary widely based on the service provider and part quality. Generally, you can expect to pay between $150 to $300.
How can I identify if my iPhone 11 Pro needs a new digitizer?
If your iPhone 11 Pro’s touch response is erratic or non-existent, while the display image is unaffected, this may indicate a faulty digitizer in need of replacement.
Is it possible to only replace the digitizer on an iPhone 11 Pro?
The iPhone 11 Pro’s digitizer and OLED display are fused together, making it necessary to replace the entire screen assembly rather than just the digitizer.
Where can I find an iPhone 11 Pro digitizer replacement kit?
Replacement kits for the iPhone 11 Pro are available through online retailers, electronics repair shops, and sites that specialize in smartphone parts.
What is the difference between replacing the iPhone 11 Pro screen and the digitizer?
The digitizer is the component that registers touch. Replacing the iPhone 11 Pro screen includes both the digitizer and the OLED panel because they are a single, integrated part.
Does the iPhone 11 Pro use an OLED screen, and how does it affect digitizer replacements?
Yes, the iPhone 11 Pro uses an OLED screen. This technology requires that the entire screen assembly, including the digitizer, be replaced as a unit rather than as separate parts.

